What can you do with Filters?
- Forward mail to a different account
- Organize mail using labels and tabs
- Delete mail
- Open your email inbox.
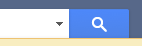
- Toward the top of the screen you will see the search box. Click on the little dropdown arrow next to the search button.
- In the window that appears, add your desired criteria in any of the fields. You only need to add information into one of the fields, however, you are welcome to add criteria into as many of the fields as you desire.
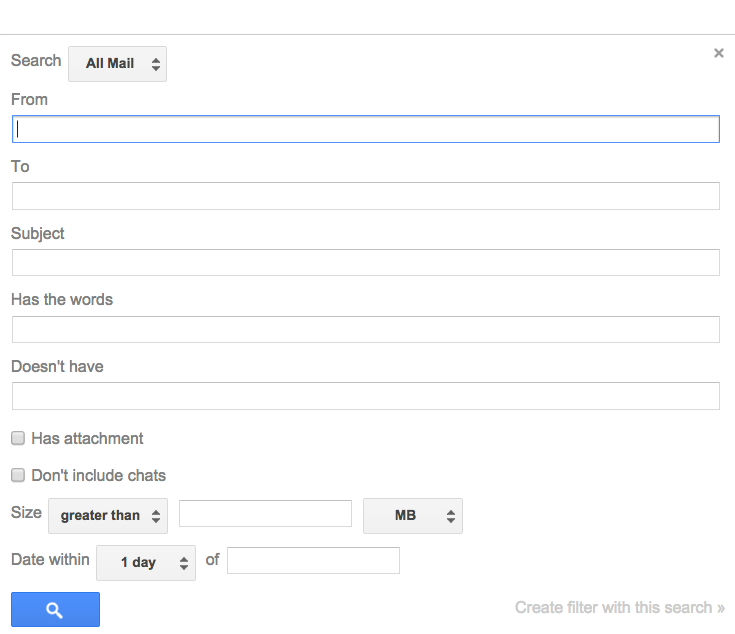
- From - Filters based upon the person sending the email to you.
- To - Filters based upon the intended recipient.
- Subject - Filters based upon the subject of the email. (Not case sensitive)
- Has the words - Searches for words in the email. Use "" for an exact phrase.
- Doesn't have - Omits words or phrases to be left out. Again Use "" for an exact phrase.
- Has attachment/Don't include chats - Filters based upon the criteria of the email having an attachment and check the box to exclude Google Chats you have done through your GMAIL.
- Size - Filter based upon the size of a particular email.
- Search button - Click this to search through your entire GMAIL container.
- "Create filter with this search>>" - Click this to continue creating your actual filter.
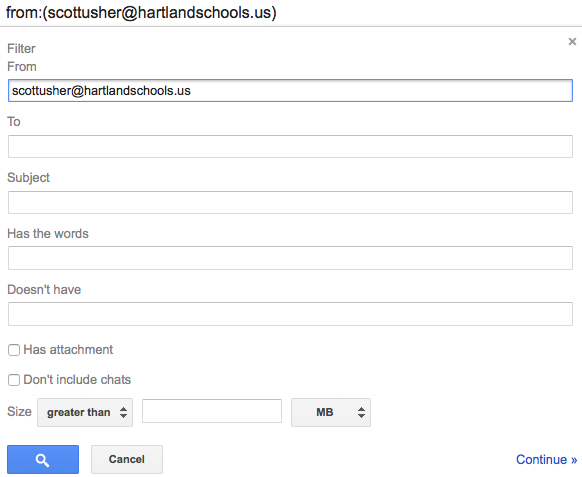
- Click "Create filter with this search>>".
- On the page that appears you will select what you wish done with the search results.

- Back to search options - Links you back to refine the search (the previous page).
- Skip the Inbox (Archive it) - Check this box to have the incoming message go directly to your archive (All Mail Label).
- Mark as read - Check this box to have the mail in your inbox marked as having already been read.
- Star it - Adds the star to the left of the message in the inbox.
- Apply the label - Checking this box enables you to apply any label you wish based upon the criteria you choose (helps with organization).
- Forward it - This allows you to forward the email to a different email address.
- Delete it - This marks the mail as trash and places it in the trash box.
- Never send it to SPAM - Ensures any particular email never gets marked as SPAM.
- Always mark it as important - Marks the message as important.
- Never mark it as important - Won't mark it as important.
- Categorize as - Categories can be used to divide your mail and place them in the tabs at the top of your inbox such as Primary, Social, Promotions, etc. Google gives you some initial categories, but you can create your own.
- Create filter - This is the button to have the filter created.
- Also apply to matching conversations - Check this box to have this filter applied to any message currently in your inbox that meets the criteria you specified.
- After selecting what you wish done with your message, simply click "Create filter".
Here's how to edit a filter:
- Click on the cog.
- Click "Settings".
- Click "Filters".
- Find the filter you wish to edit and click the "edit" link to the right of that filter.
- Make any changes on the first screen that appears.
- Click "Continue>>" in the lower right.
- Make any additional changes to your filter on this screen.
- Click "Update filter".


For additional information about filters in GMAIL, follow the link below to a Google Help Document:
No comments:
Post a Comment