HCS Staff Tech Blog Message

This blog is written with the HCS Staff as the primary audience.
Anyone not a member of the HCS Staff may find certain content does not apply to their Google Account.

Monday, February 1, 2016

Bypassing Internet Content Filter (Lightspeed)

As we all know, school districts are required to responsibly block inappropriate websites.  Sometimes, however, sites get blocked that should not be.  Adult users at HCS have the ability to override the filter for certain categories of sites, such as "Social Media".  

More and more sites have been switched to include encryption making the website more secure.  This is generally denoted by the "s" at the end of the http in the address field of your web browser and looks like this:

Our filter deals with these sites with no problem but when a staff member attempts to browse to one of these sites the Lightspeed filter is supposed to prompt you with a blue Lightspeed blocked page.  This page has a link toward the top on the left that requests you to log in.  Click the "(Not you?)" link and you will be prompted to log in.


Use your Active Directory (computer) UserID and Password to login to the Lightspeed Filter.  Click the login button and you will be logged into the filter for a period of 15 minutes enabling you to go to sites that are normally blocked but not considered to be explicit (containing "Adult" content).  

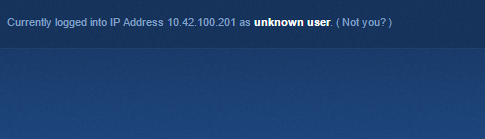
Sites that use the encryption (https://) confuse our filter a bit and cause it to have a bit of difficulty prompting with the "(Not you?)" link.  In this case, you may encounter a page that looks like this and from here you may not know what to do:


When you encounter a problem getting to a site that does not give you the blue blocked page yet you still need to bypass the filter, you can always browse to the following address:


Here you will encounter the Lightspeed login page:


Use your Active Directory (computer) UserID and Password to login to the Lightspeed Filter.  Click the login button and you will be logged into the filter for a period of 15 minutes enabling you to go to the site.  

Tuesday, September 1, 2015

Technology Responsibility Flowchart

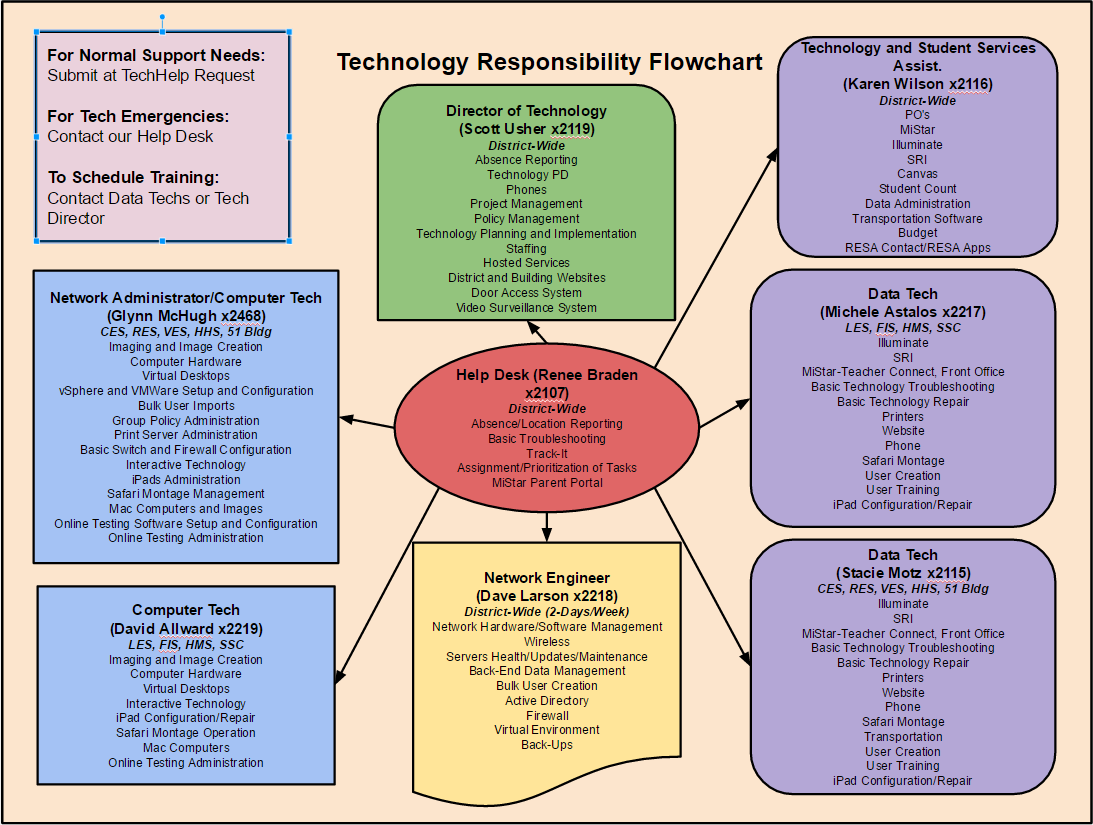
A number of folks have indicated an interest in having me resend the Technology Responsibility Flowchart.  Below you will find that chart.  To see the flowchart full size, please click on the link below it.


VDI Access from Outside the District

We have 50 basic “Staff” Virtual Desktops set up so teachers can have access to district network resources from outside the district.  To login to a VDI Machine, follow the instructions below.


  1. Open the web browser of your choice from a computer connected to the Internet.  The faster the Internet connection the better.
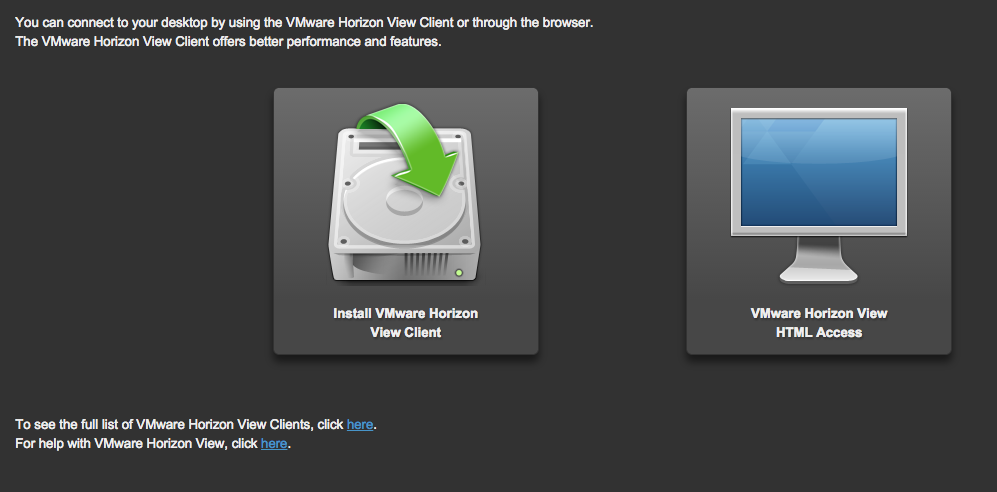
  2. From here you will have two choices, Install VMWare Horizon View Client or VMWare Horizon View HTML Access.  


  1. Select “Install VMWare Horizon View Client” if you would like to download and install a client that will run on your Windows or Mac desktop.  (This option often provides better performance of your virtual machine (VM).  However, it is not necessary if you just want to run the VM through your browser. If you don't plan to do this all that often, then browser (HTML) access will probably suit you just fine.
  2. Select “VMWare Horizon View HTML Access” if you wish to run a “Staff” desktop through your web browser.  


Installing and Running the Client
  1. Click on “Install VMWare Horizon View Client.
  2. Select the appropriate “go to downloads” link consistent with your computer where you are setting up the client.  (Please only do this on a private device.  Do not try to install on a public device where others will have access to the client after you leave such as a library).


  1. And yes, as you can see you can even install the horizon view client for iOS or Android.  


  1. However, for your home computer, choose either the Mac link or one of the two Windows links.  You will need to know if you have a 32-bit or 64-bit install of your windows operating system though.  
  2. Click on the “Go to Downloads” link of your choice.
  3. Review your selection in the window that comes up and click the “Download” button.
  1. Once the file is downloaded, double click the icon and follow the onscreen instructions.  
  2. Launch the client once the install completes.


  1. Click on the “New Server” icon to configure our virtual server


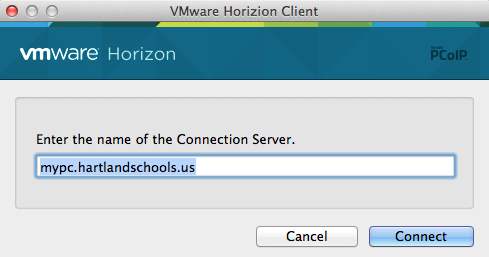
  1. When prompted to “Enter the name of the Connection Server” enter the following:  mypc.hartlandschools.us


  1. Click the “Connect” button.


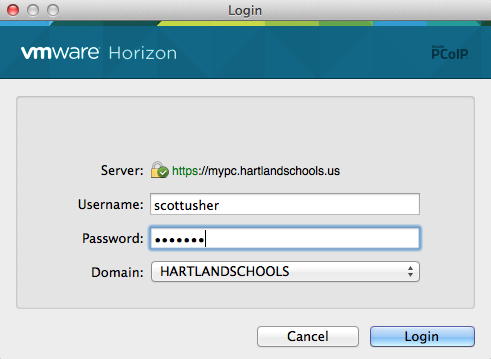
  1. If prompted type your UserID and Password (the same one you use to log into the computer at school every day.


  1. Click “Login”
  2. You will then be launched into the “Staff” Windows 7 Desktop with all your drive mappings to the “H” drive and Shared drives set up for you.  


This is a generic Staff Desktop with some of the basic applications we believe you may be wanting to use from offsite.  Remember this is a VM running through your Internet connection at home.  It has limitations but provides you access to many district resources.


Running Your VM Through Your Browser
  1. Click on the “VMWare Horizon View HTML Access icon.
  2. Enter your Username and Password.  The same Username and Password you use to log on to your computer at school each day.


  1. Click “Log In”.
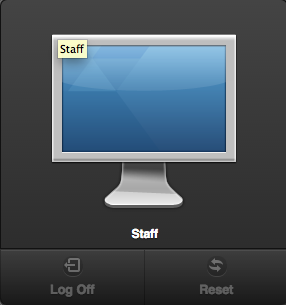
  2. You will have to click on the “Staff” VM (Virtual Machine) icon.


  1. This will launch your VM within your web browser and allow you to use the same applications and access the same drive locations as downloading and launching the client.  


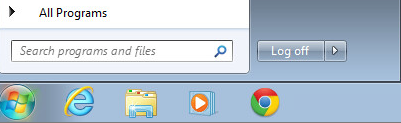
* When you are through using your VM from either the desktop or web client, please be sure to Log Out of your Windows 7 VM.  


** If using the web client, also be sure to log out of mypc.hartlandschools.us by clicking on the “Log Out” button in the upper right corner.


From here you can close your browser window.